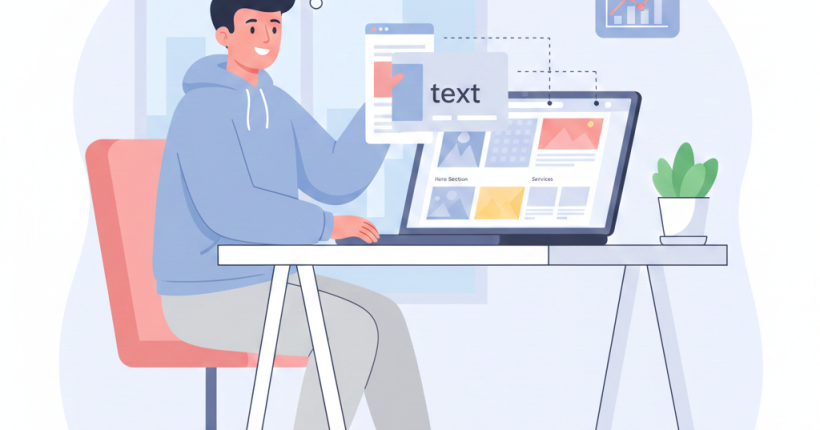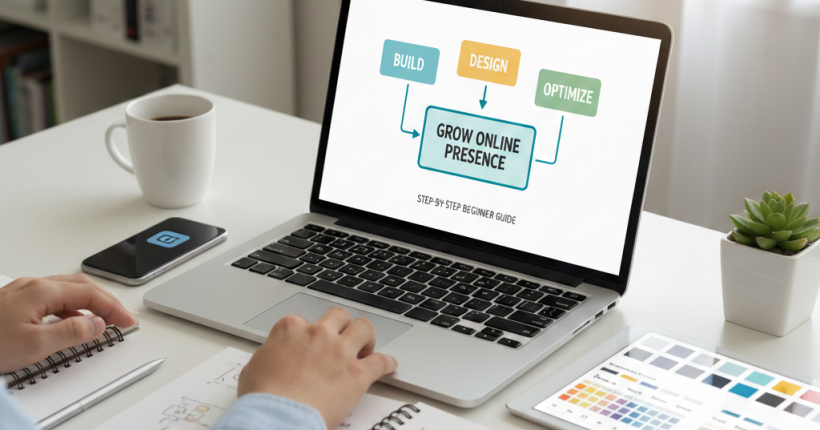
In today’s digital world, a personal website is more than just an online space—it is your digital identity. Whether you are a freelancer, student, designer, business owner, or job seeker, having a personal website helps you build credibility and showcase your work professionally. If you’re wondering how to create a personal website, this simple and beginner-friendly guide will walk you through every essential step.
Why You Need a Personal Website
A personal website acts like your online portfolio or resume. It helps people understand who you are, what skills you have, and how they can contact you.
Here are a few reasons why creating a personal website is beneficial:
- Builds your personal brand
- Increases your online visibility
- Helps you stand out in job interviews
- Showcases your skills, projects, and achievements
- Gives you full control over how you present yourself online
In short, a well-designed personal website can open new opportunities.
Step 1: Define Your Purpose
Before learning how to create a personal website, you need to understand your goal.
Ask yourself:
- Do I want to display my portfolio?
- Do I want to start a personal blog?
- Do I want to create a resume website?
- Do I want to attract clients?
Once you’re clear about the purpose, designing your site becomes much easier.
Step 2: Choose a Domain Name
Your domain name is your digital address. It should represent your identity.
Tips for selecting a domain name:
- Use your name (example: yourname.com)
- Keep it simple and easy to remember
- Avoid numbers and hyphens
- Prefer “.com” for professional branding
A personal domain builds trust and adds professionalism.
Step 3: Select a Reliable Hosting Provider
Hosting stores your website’s data and keeps it live 24/7.
Popular hosting providers include:
- Bluehost
- Hostinger
- SiteGround
- A2 Hosting
Choose a hosting plan that fits your budget and expected traffic.
Step 4: Install a CMS (Website Builder)
You don’t need coding skills to make a personal website. A CMS (Content Management System) helps you build it easily.
The most beginner-friendly option is WordPress. It offers:
- Free installation
- Professional themes
- Easy customization
- SEO-friendly structure
Other options include Wix, Squarespace, and Webflow.
Step 5: Pick a Clean and Professional Theme
Your theme decides your website’s design and layout. For a personal website, choose something clean and minimal.
Recommended themes:
- Astra
- Neve
- GeneratePress
- OceanWP
- Hello Elementor
Make sure the theme is fast, mobile-friendly, and customizable.
Step 6: Customize Your Website
This is the fun part! Start customizing your pages to reflect who you are.
Important pages to include:
- Home Page: A clear introduction about you
- About Page: Your story, background, and purpose
- Portfolio Page: Your projects, case studies, or achievements
- Blog Page: Optional, but good for sharing your knowledge
- Contact Page: Social links, email, and contact form
Use page builders like Elementor or Divi for easy drag-and-drop editing.
Step 7: Add Essential Plugins
Plugins add extra functionality to your website. A few must-have plugins include:
- Yoast SEO / RankMath (SEO)
- Elementor (Design)
- WPForms (Contact Forms)
- LiteSpeed Cache (Speed optimization)
- pdraftPlusU (Backup)
These will improve your website’s performance and usability.
Step 8: Optimize Your Website for SEO
If your website doesn’t show up on Google, people won’t find you. Basic SEO steps include:
- Add meta title and description
- Use the main keyword naturally
- Optimize image sizes
- Maintain fast loading speed
- Ensure your website is mobile-friendly
SEO plays a big role in attracting visitors organically.
Step 9: Test Your Website Before Publishing
Before making it live, test everything:
- Does it load fast?
- Is the design mobile responsive?
- Are links working?
- Is the contact form functional?
- Are images optimized?
- “how to create a personal website”
Tools like Google PageSpeed Insights and GTmetrix help you test performance.
Step 10: Publish and Share Your Website
Once you’re done, click “Publish”—your personal website is ready!
But your work doesn’t end there. Promote your website using:
- Email signature
- Google search console
- Blog articles
Final Thoughts
Learning how to create a personal website is not difficult—especially with today’s tools and website builders. A personal website helps you grow your digital presence, build a strong brand, and showcase your talents to the world. Start small, focus on your purpose, and continuously update your website as you grow.